
It really has been quite some time since my last post which I apologies for! Unfortunately I had a bout of illness just after Christmas which stopped my gardening for several weeks! Currently I am waiting for hip surgery and actually went down with Sciatica and Kidney Stones at the end of December stopping all physical activities and giving me seven weeks off work! I am now happy to say that I'm pretty much back to normal despite the hip which will obviously be a problem until fixed!
So what's happening in my garden?
Well nothing up until last weekend when I started my latest project of a new wildlife pond! with the mild weather that we have experienced recently and following my long forced absence from the garden, now seemed like the perfect time to get stuck into another project again!
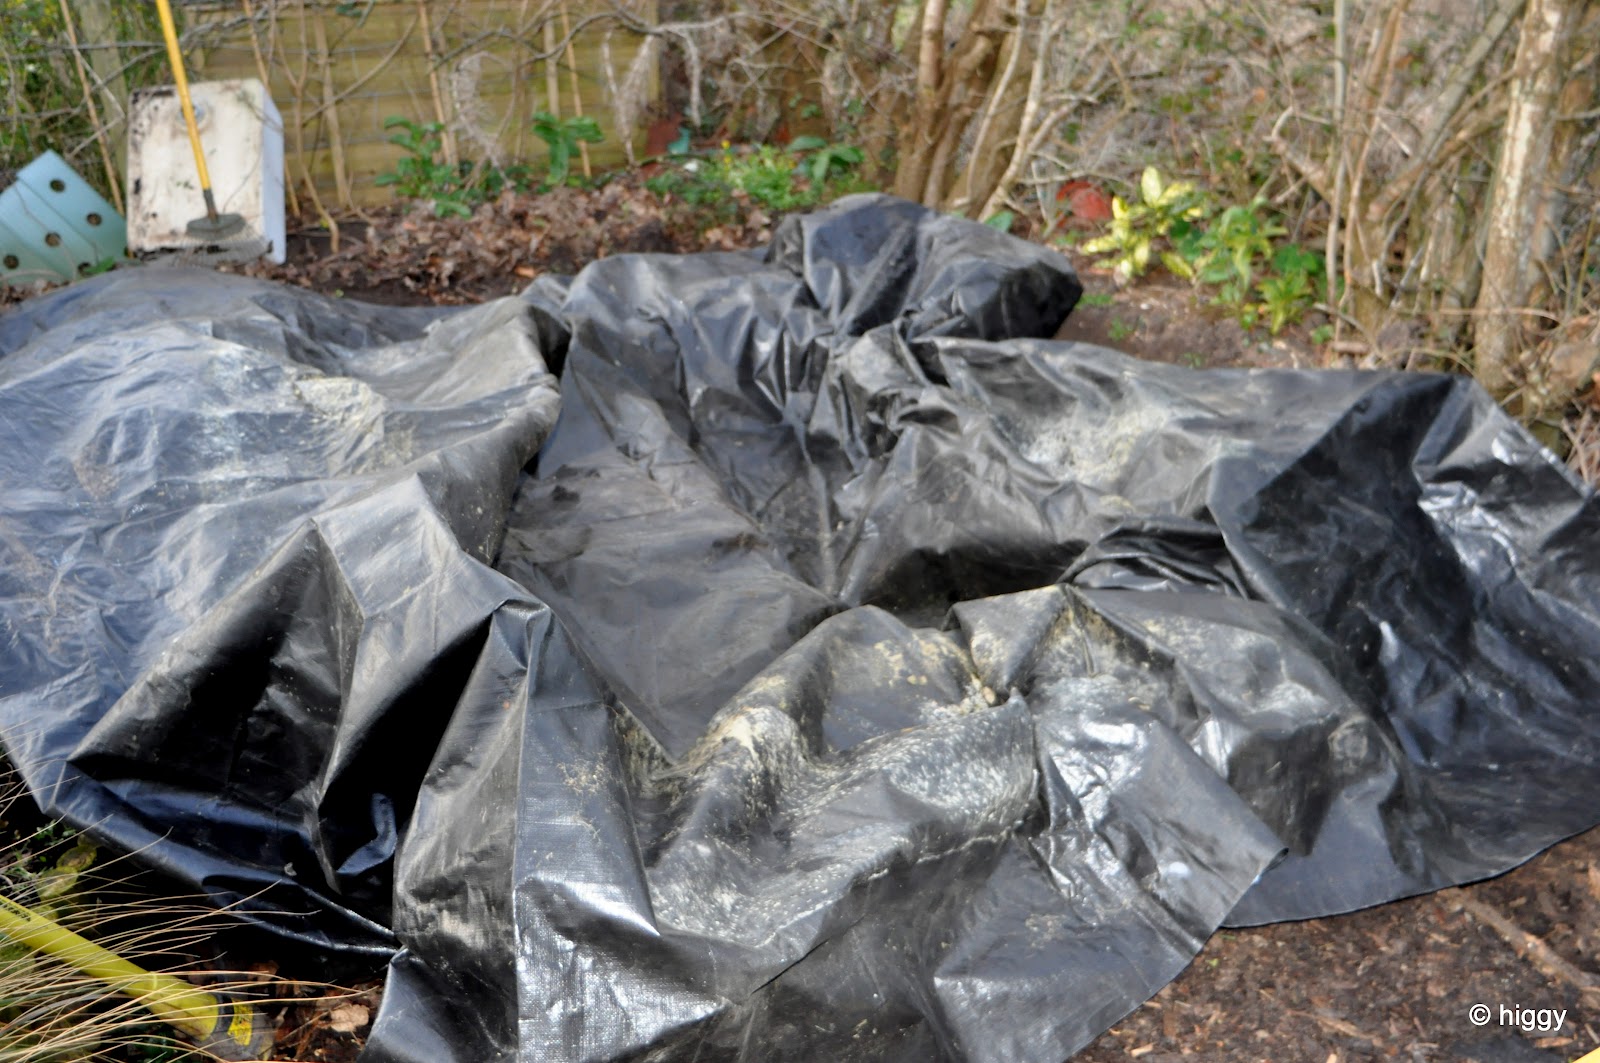
The site for the pond is right at the bottom of the garden in a corner of the wildlife area (makes sense doesn't it!!) To give you a better understanding here are a couple of pictures to show you the site for the pond....
So here's the site for the new wildlife pond, it's in the bottom corner of the garden and my wildlife area. In these pictures the site has been cleared ready for excavation of the pond...


Now in usual Higgy style as much of the pond construction as possible will be completed using recycled materials and done as cheaply as I can. The site is not really the ideal place for a pond as there are a couple of large trees and a Hawthorn hedge here! Whilst planning the pond I realised that roots were going to be a major factor and therefore just using a liner with no protection was out of the question so I set about thinking of a solution to this problem. Whilst out and about I visited a house with an old metal bath in he back garden that was awaiting a trip to the local tip! Seeing an opportunity and a solution to securing the bottom of the pond I asked the occupants if I could dispose of it for them. Not being able to fit it into their car they were more than happy for me to take it away free of charge! I now had to think about the liner to sit inside the bath and the rest of the pond, a quick rummage through my workshop produced the old liner I had used to make a temporary holding tank for my Koi when we moved house a couple of years ago (never throw anything away as you never know when it might come in handy again is always my motto!). So for the grand price of zero£ I now had all I needed to make my pond water tight!!!
Whilst excavating the pond it quickly became apparent that the root problem was actually much worse than originally anticipated. In fact the problem was so bad that I had to abandon my plans to completely bury the bath and settle for part burying it and then making up the difference when landscaping the area around the pond.
As normal here is the project in pictures to give you a better idea of what I'm actually trying to achieve....
Here is the old tin bath which I have turned upside down in it's final position so that I can mark the outline for digging. You can also see a nice selection of logs which I saved last year ready for landscaping this project. Planning ahead like this really can save you money!

in this picture you can see the outline clearly marked on the soil ready to be dug out

Once I started digging the anticipated root problem was far worse than I first expected so I abandoned fully burying the bath and settled for part burying it! The most important thing in any pond build is to ensure that you are 100% level so that you can hide the liner with an even water-line. You can see here that I used smashed up paving slabs (free to collector!) to level the tub.....

Once that the paving slabs were cemented into place to create a strong frame around the bath and solid base I packed heavy soil & turf in to create the contours which will be the shallower water and bog areas of the pond. Once packed in firm it can be scooped out to make deeper areas and/or planting pockets...

In the two images here (above/below) you can see that the bath is encased by the paving slabs and soil. Once cemented into placed the flat (and level) concrete slabs will provide good foundations to build the small retaining walls on.....

Once all the foundations are in place and I was happy with the contours in the soil the liner is laid over the pond (as below) and part filled with water. Notice that the liner is bigger than the pond all the way around which allows for the building of a small retaining wall and overlap which can be trimmed off later....
So that's about as far as I have got with this project so far. Unfortunately I am no longer able to work quite as hard as I used to do and I am limited when lifting heavy objects or digging etc!! With all things there is always a way around it however I have to except that with my current restrictions my 'projects' will now take longer and occasionally I have to ask for assistance with heavy objects! Talking of heavy objects I have also managed to locate another load of 'free to collector' rocks which I now have stashed ready for the landscaping stage of this project. Due to the fact that I have now been forced to move to a 'part buried' design I will have to do quite a lot of 'creative' landscaping around this pond to allow access to the wildlife that I want to attract to it!....
Apologies that it has taken me a while to get another post written but I am hoping that I shall now be writing a few on a more regular basis!
Next time I shall be landscaping around the pond in the hope that a frog will actually be able to reach the water!!! I will also give you a full update on my feathered visitors and anything else that might be happening in Higgy's garden!...
Thanks for reading and as always I'll see you in Higgy's garden on my next post!
Cheers
Higgy